Congratulations on choosing to assemble your new Gerard Cycles bike. Below is a list of tools you’ll need and step-by-step directions. If you feel this is beyond your abilities, please call your local bike shop or our mobile bike-build partner, velófix (depending on service area).
Estimated assembly time: Under one hour
Open shipping box carefully and remove all packing materials from bike or frameset.
Keep shipping box and all packaging for 30 days (in case of return or exchange). Then dispose of responsibly.
Note any damage to the shipping box and photograph.
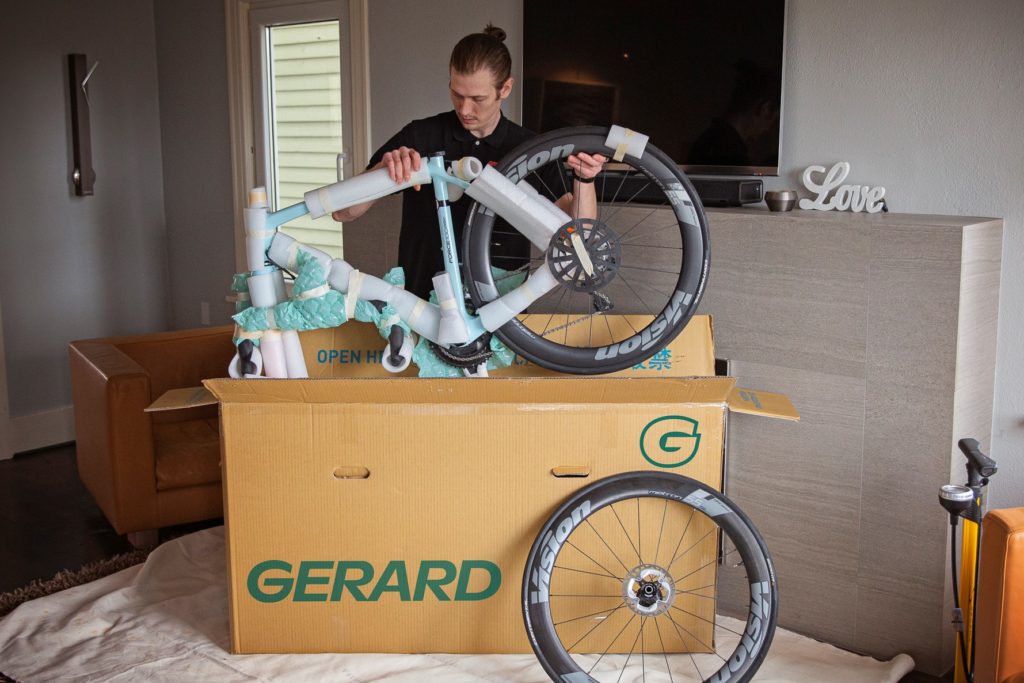
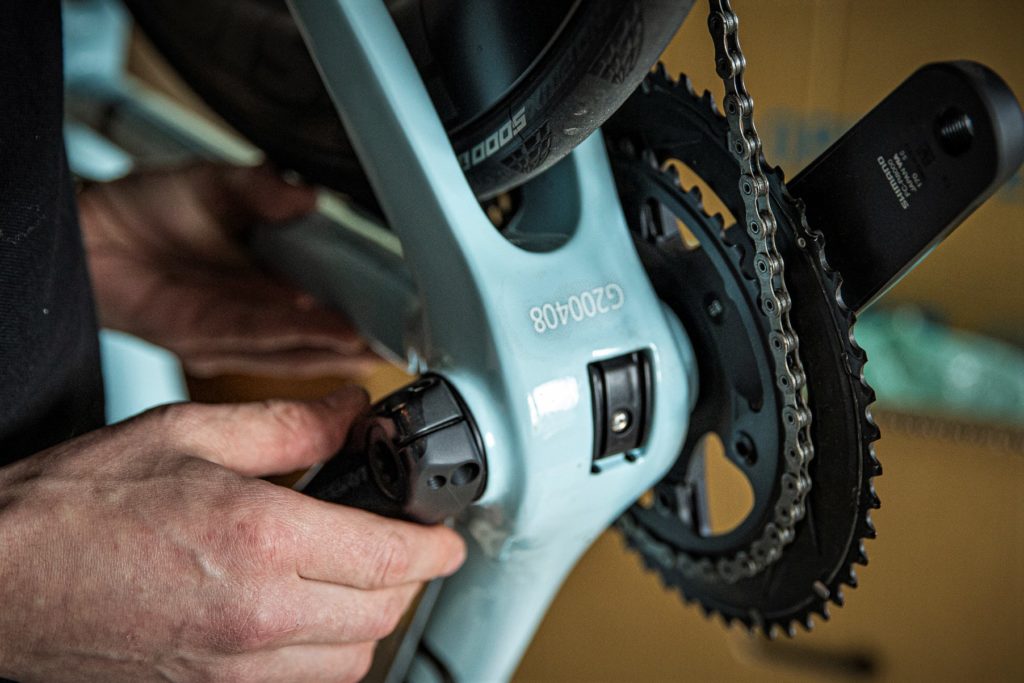
Carefully inspect frameset and all components for damage and record frameset serial number.
Note any damage, photograph, and contact Gerard Cycles.
Supplied parts include:
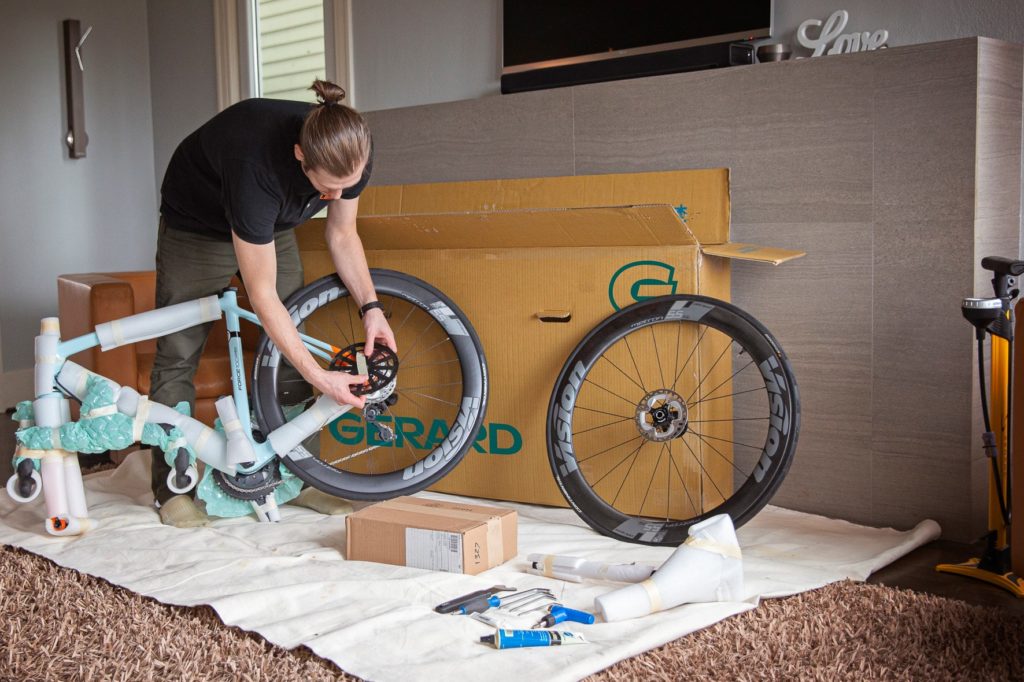
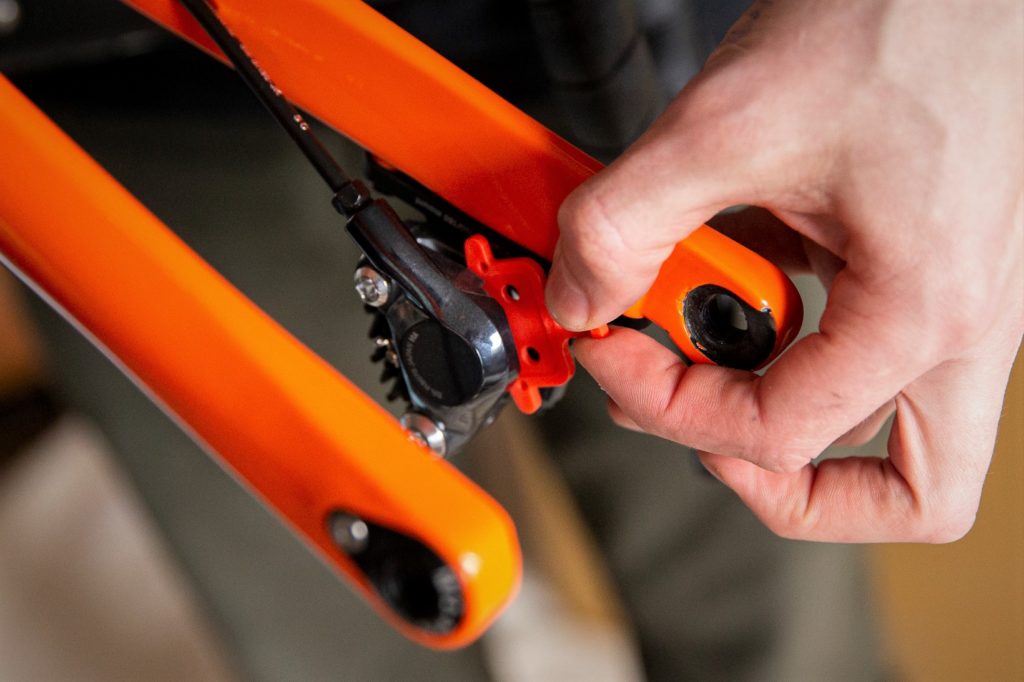
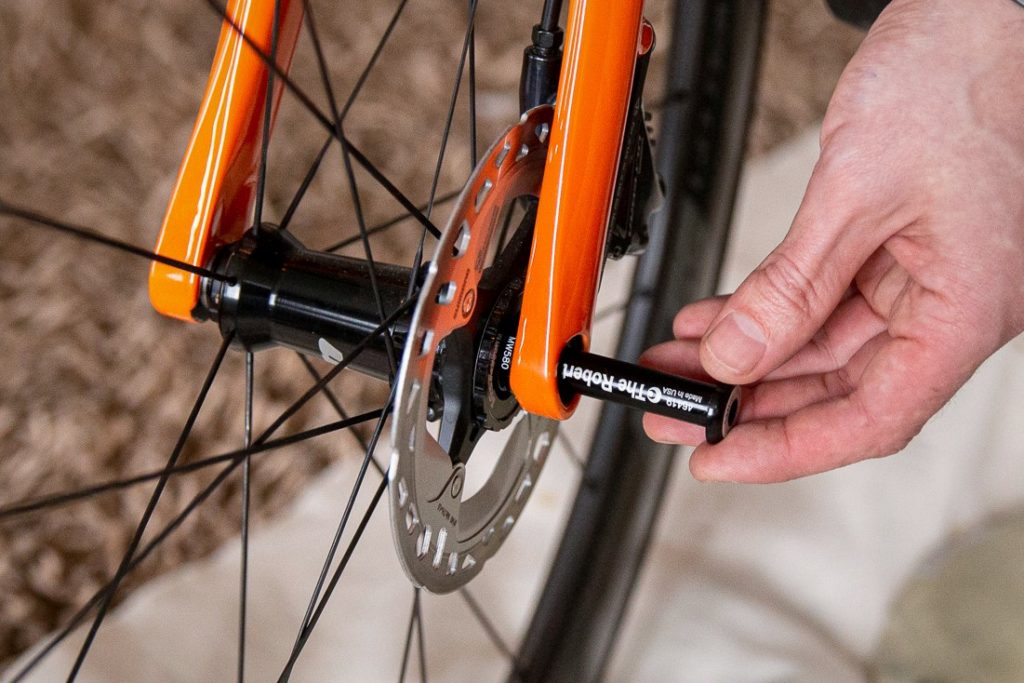
Disc brake bikes: Remove supplied thru axle from frame fork.
Install front wheel on fork, insert thru axle, and tighten.
Rim brake bikes: Install front wheel using supplied quick-release skewer. Tighten securely.
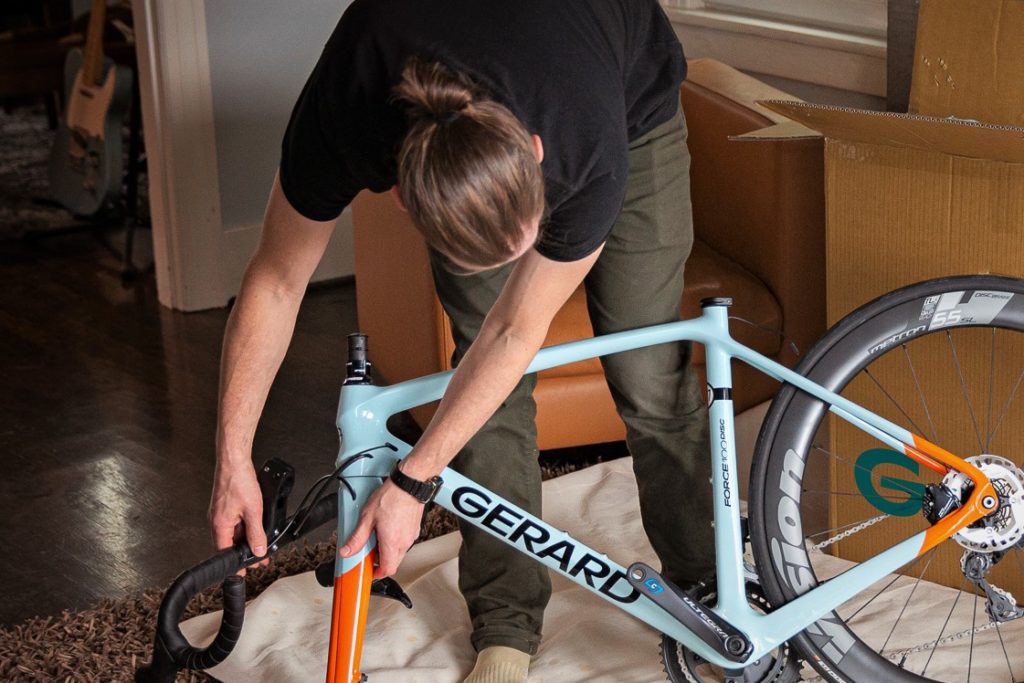
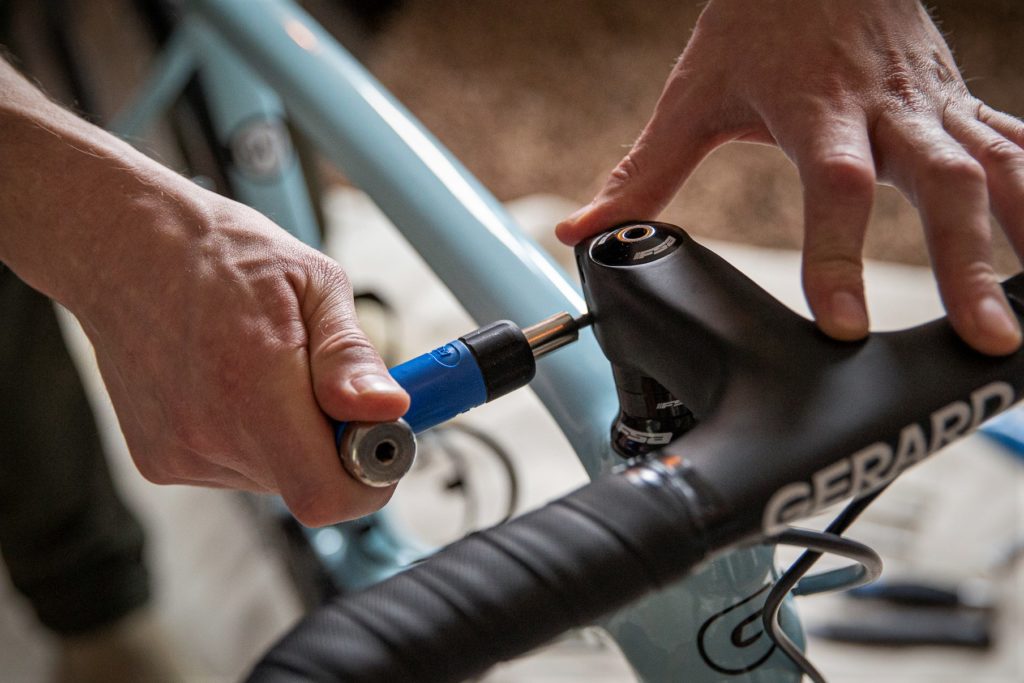
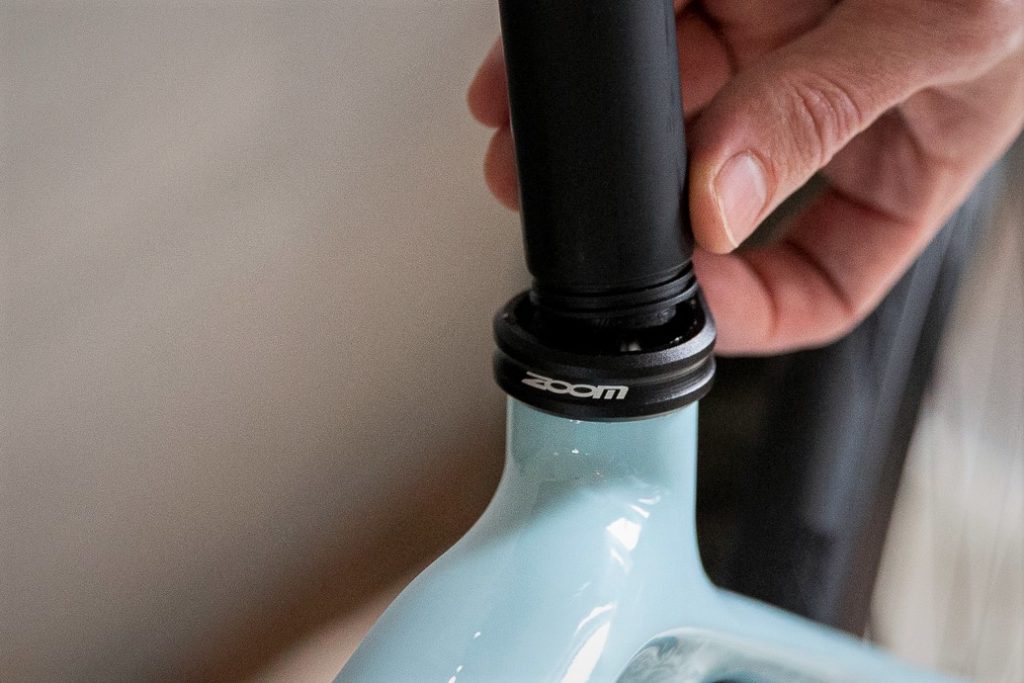
Remove headset compression cap on top of steerer tube and place handlebar stem over fork steerer tube.
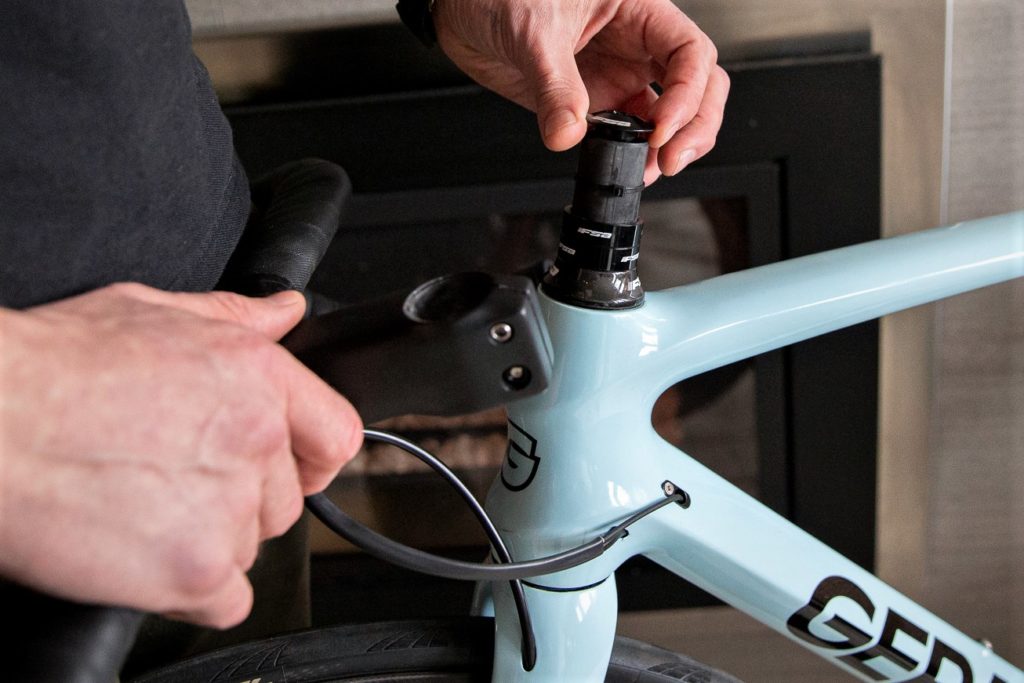
Replace headset compression cap and tighten hand-tight to preload headset bearing tension.
To determine optimum tightness:
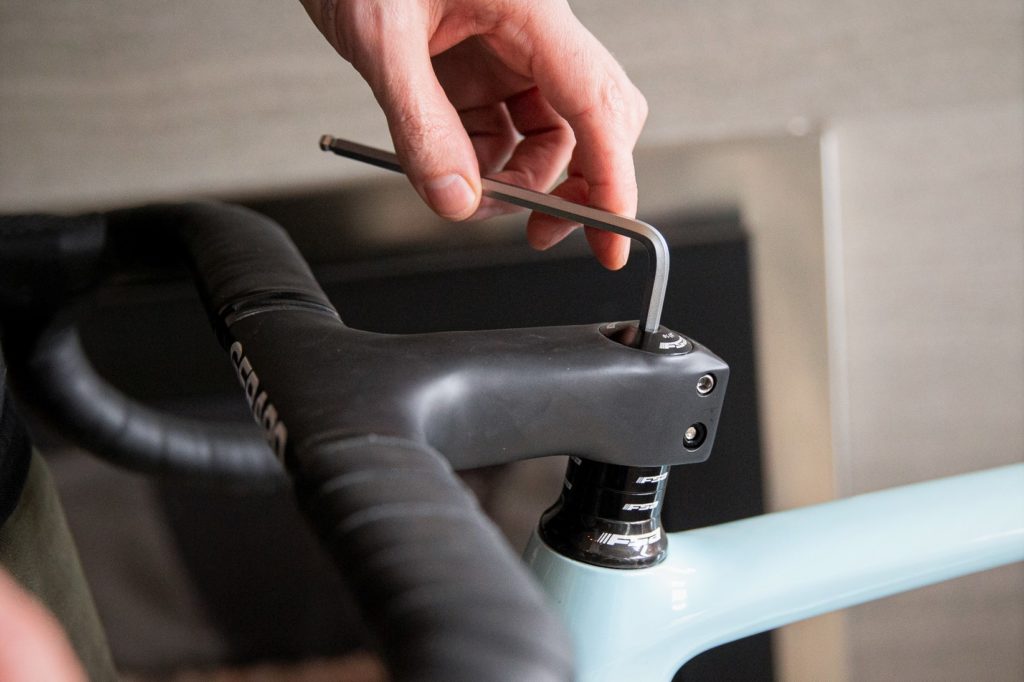
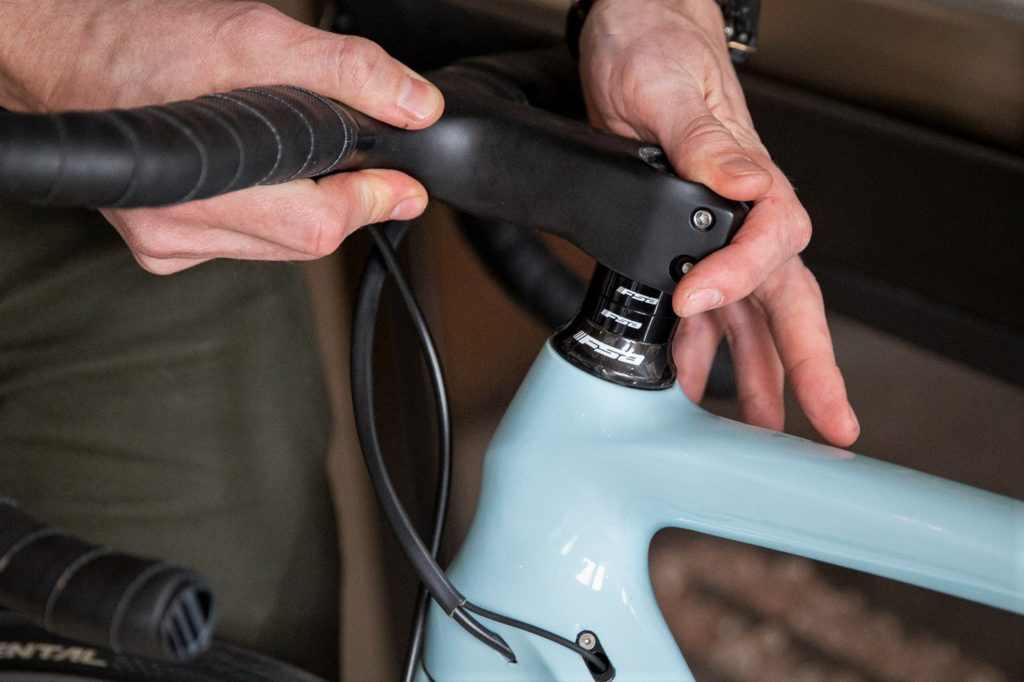
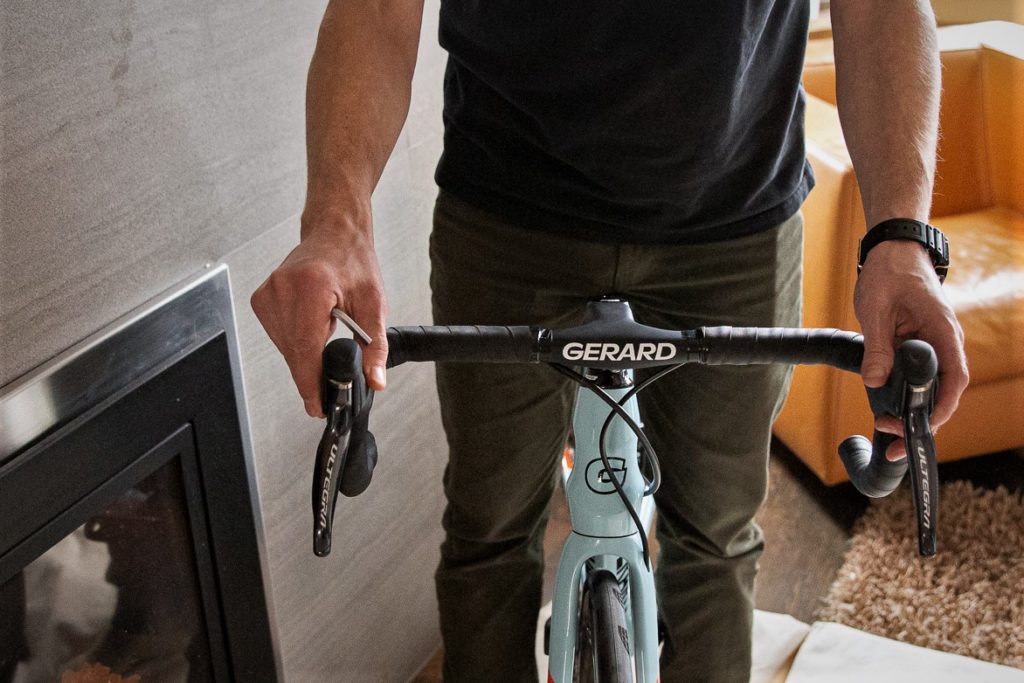
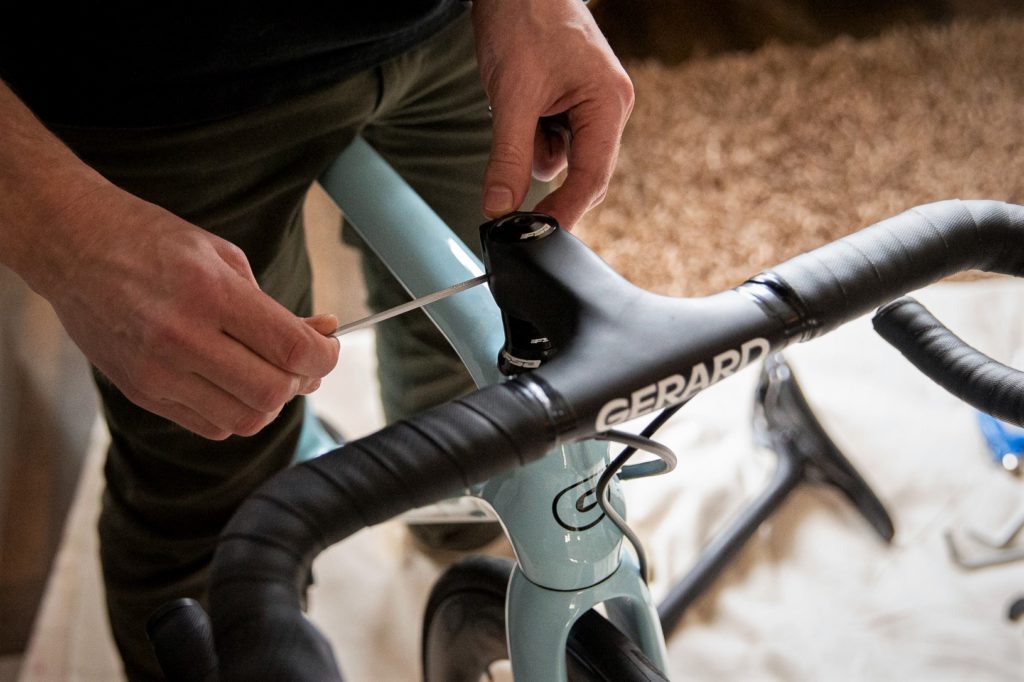
Straighten handlebar to align with front wheel and tighten stem bolts.
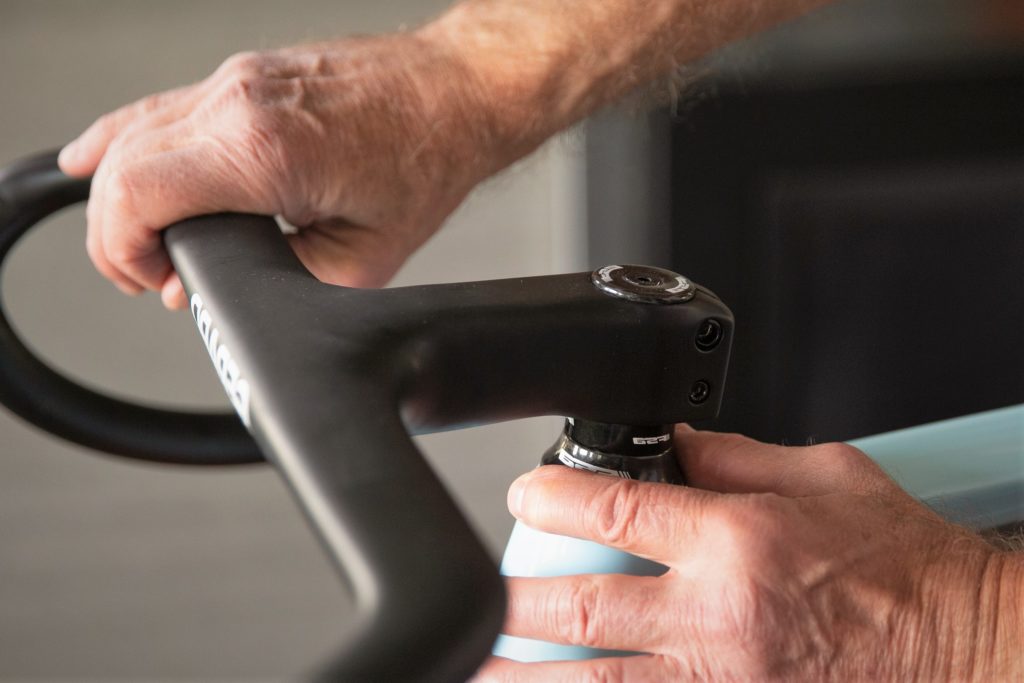
To continue to check for correct headset bearing tension, hold the front wheel off the ground and turn the handlebar side to side. Front fork/wheel should move freely with no discernable stiffness or impingement
If there is any, loosen the stem bolts, loosen the headset compression cap 1/4 of a turn, and re-tighten the stem bolts.
Repeat these steps until the headset is properly adjusted.
Then torque stem bolts to 5 nm.

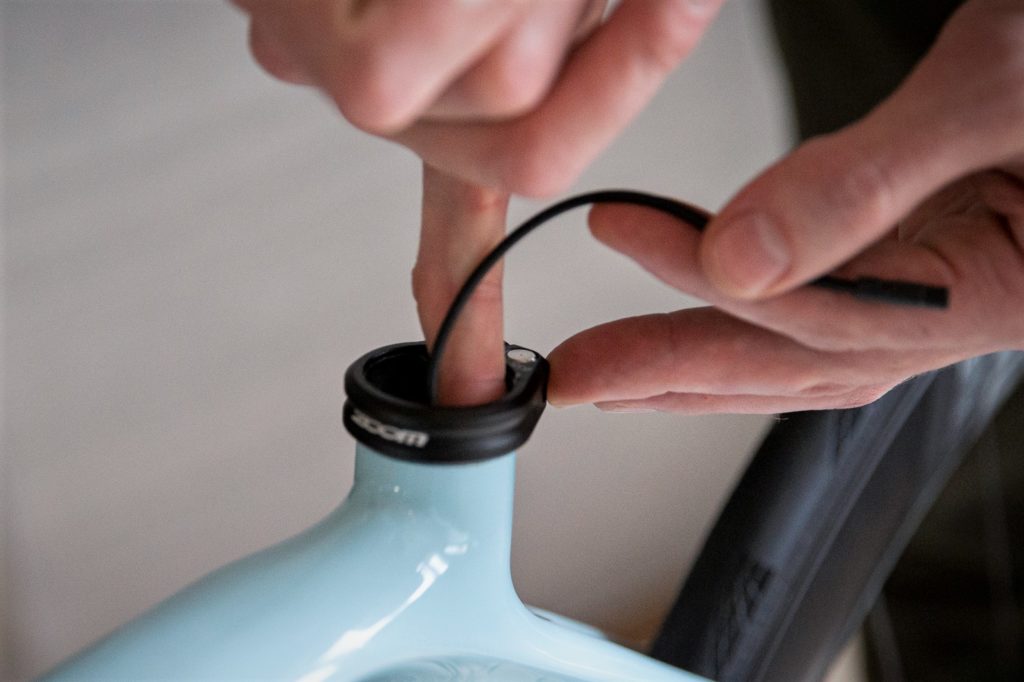
Shimano Di2 groupsets only: Untape Di2 battery wire from toptube, making sure it doesn’t fall inside seattube.
Lightly coat inside of seattube (first few inches) with anti-seize compound.
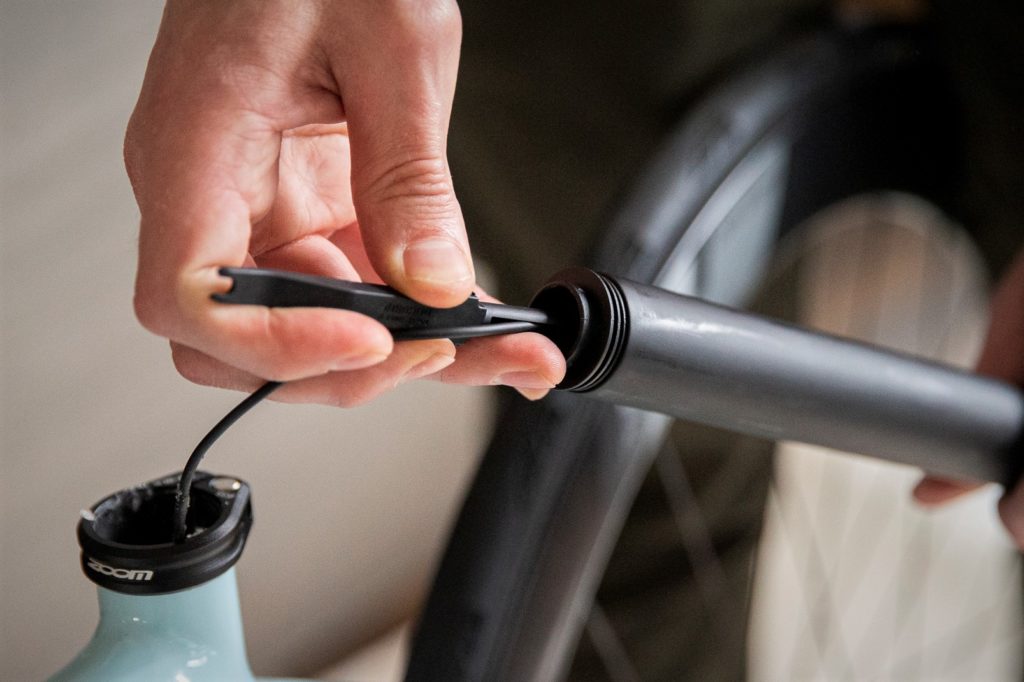
Insert Di2 battery plug into supplied E-Tube Plug Tool.

The Di2 battery is pre-installed in the open end of the seatpost (saddle attached).
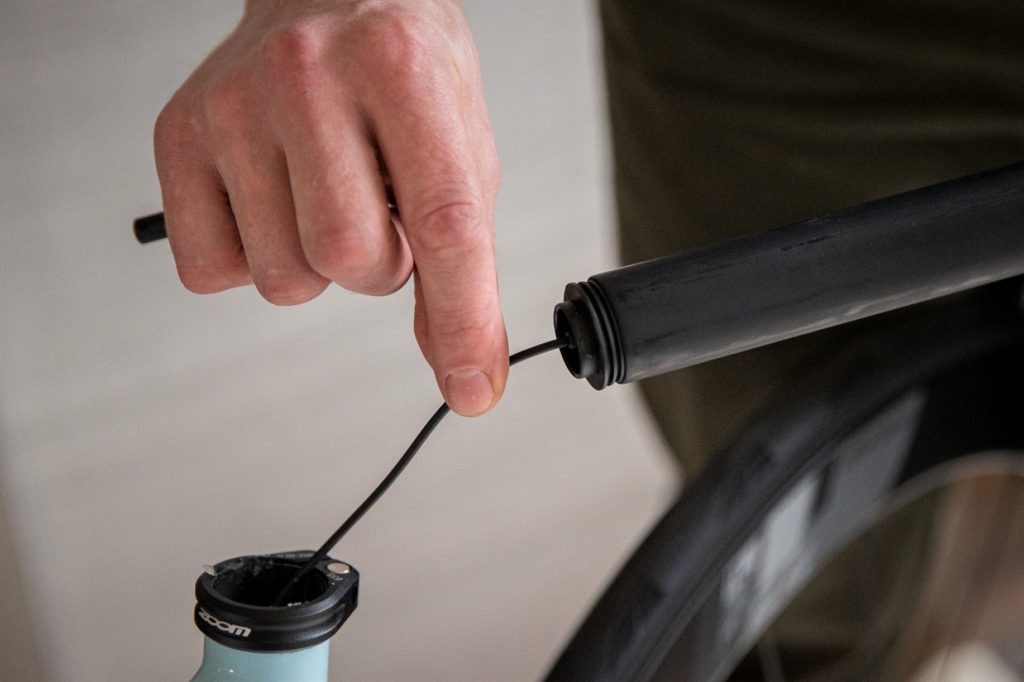
Use the E-Tube Plug Tool tool to guide the plug into the battery socket and push firmly until the plug snaps into place. You should feel and/or hear a positive click.
Check for a secure connection by lightly tugging on the Di2 battery wire.
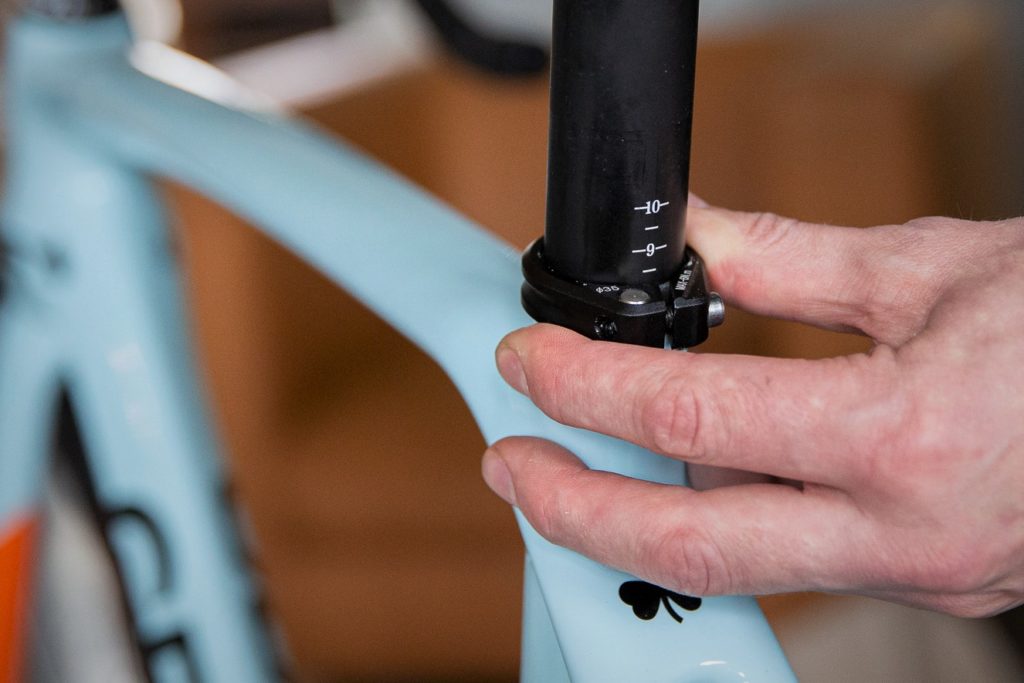
Insert seatpost in seattube to desired height, taking care to safely guide the battery wire down into seattube. Align nose of saddle with toptube/steered tube and tighten seatpost clamp using 4mm hex wrench.
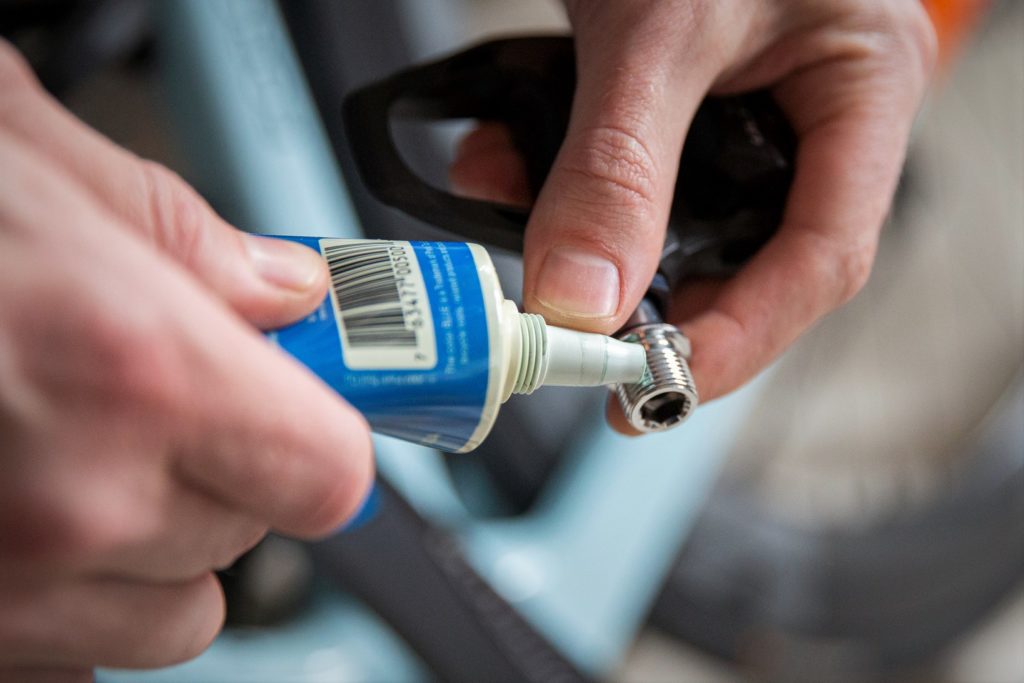
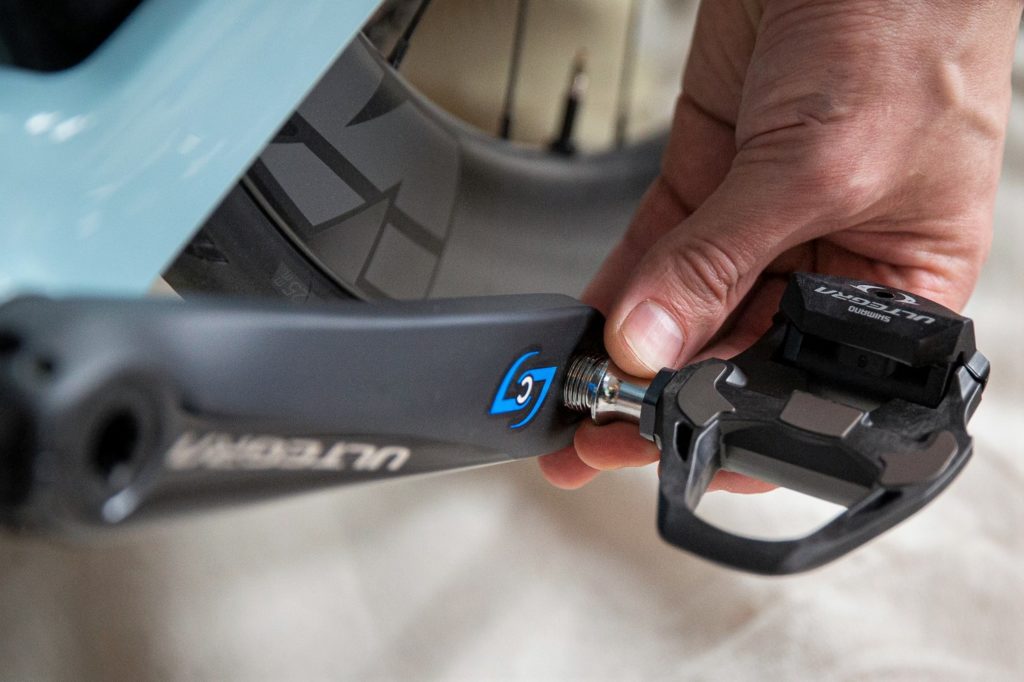
If installing pedals: Lightly grease pedal spindle threads and screw into crank arms. Tighten hand tight using 8mm hex wrench. Pedals are labeled Left and Right.
Important note: The right-side (drive side) pedal has a conventional thread (tightens clockwise, loosens counterclockwise).
The left-side (non-drive side) pedal has a reverse thread (tightens counterclockwise, loosens clockwise).
(8mm hex wrench inserts into pedal spindle from the rear, but threading directions assume a front orientation.)
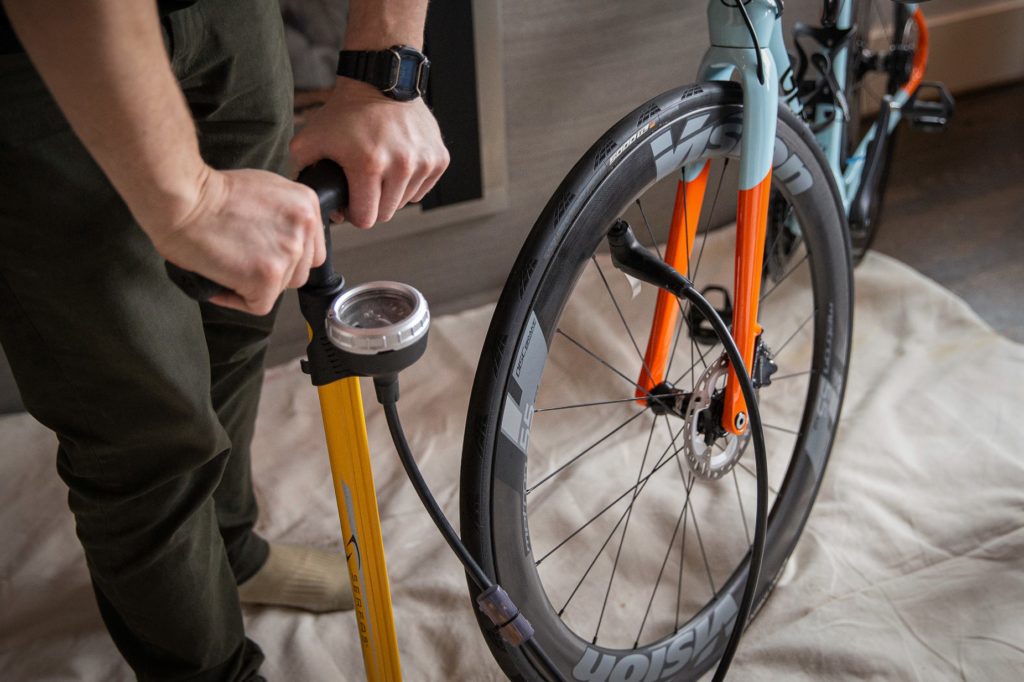
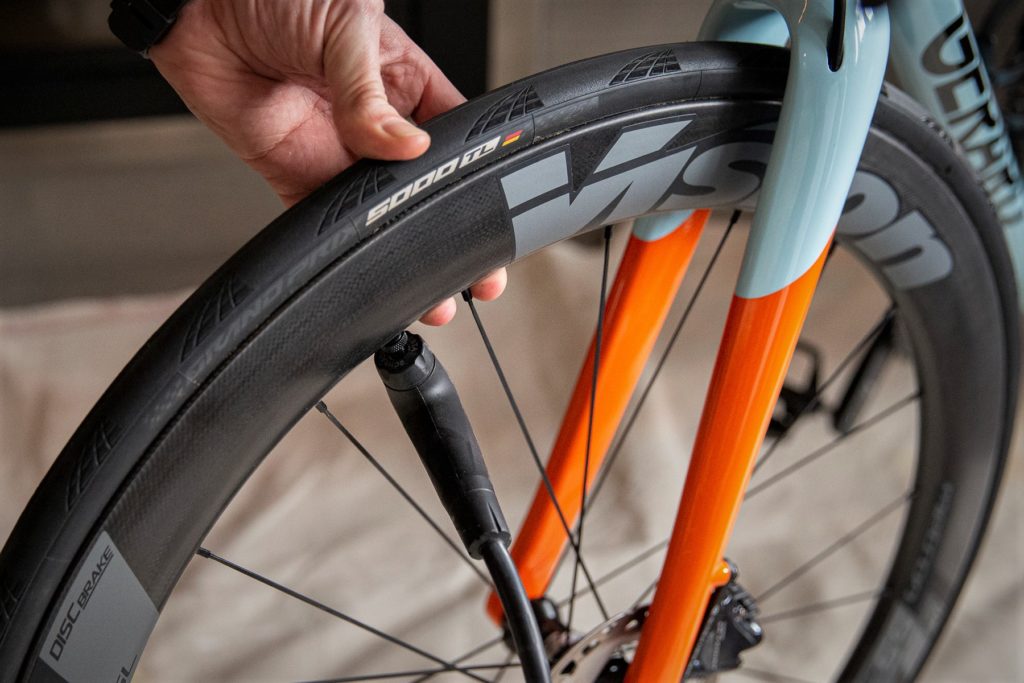
Inflate tires to desired pressure.
Correct air pressure depends on type of wheel/tire, rider’s weight, and weather conditions.
A good starting pressure Is:
Test ride your new Gerard Cycles bike: